Setup Kannada Typing Software in Windows 10 & 8
After download and installation of Kannada Typing software, we need to setup Indic Input 3 in Windows 10, to be able to use various keyboard for Kannada typing. Setup process for Kannada Keyboard in Windows 10 is different from it's previous version Windows 7 or XP.
Typically it's takes 1-2 minutes in complete process and your system will become able to type with Remington GAIL and Remington CBI Kannada Keyboard. Here are we given step by step process of Setting up Kannada Indic Input 3 with screenshots.
Configure Kannada Indic Software and Keyboards in Windows 10 & 8
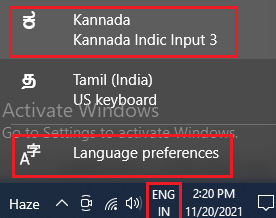
Step 1: After download and successful installation of Kannada Indic Input 3 you will see the software appear in language bar, Click on "Language Preferences" option as shown in below image:
Step 2: Click on Keyboard as shown in image given below:

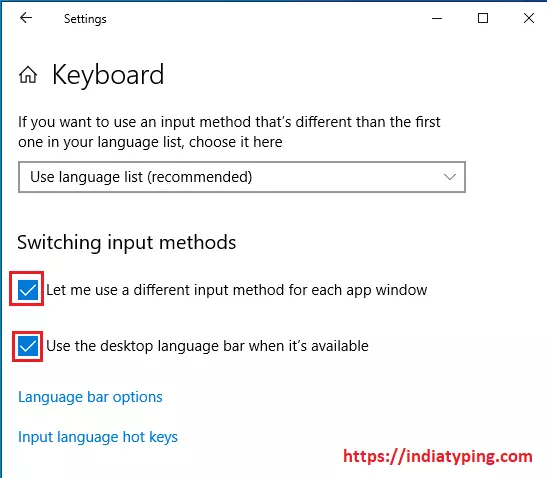
Step 3: Now you will see two check box, under the title "Switching input methods" check them as shown in image below:
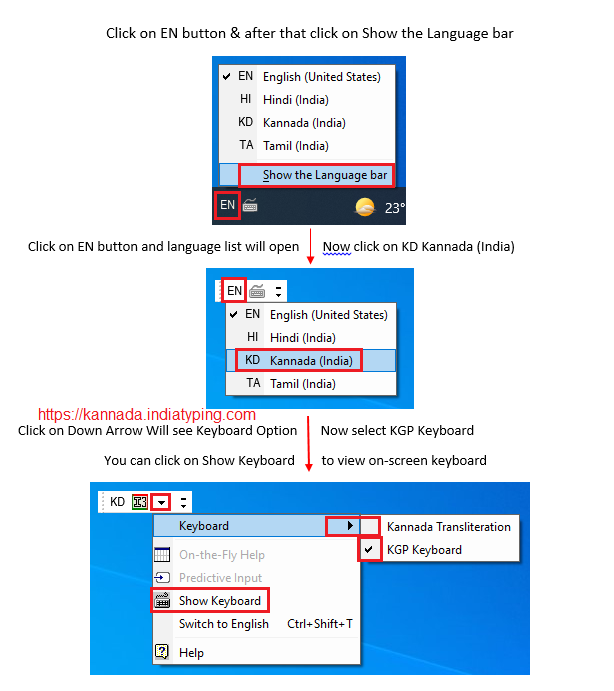
Step 4: Now you will a "EN" button with keyboard logo in taskbar, as it appear in Windows 7 or XP. Click on that and -> Click on "Show the language bar", you will see a language bar appear on Top right side of your screen. Now change language in Kannada -> click on small down side arrow sign -> click on keyboards -> select KGP Keyboard as shown in image given below:
Step 5: You have completed the procedure of installation and setting up transliteration Keyboard options in Windows 10. Now open any text editor or Application and you are able to type in Kannada with these keyboards. You can also open on screen keyboard by clicking on "Show Keyboard" option in the list.
<< Previous Step to Download and install Kannada typing software